Gear Guides

Storing and Packing Kites for Winter: An End-of-Season Checklist
Storing and Packing Kites for Winter: An End-of-Season Checklist
The last flight of the season is often the best one: a bright, still afternoon, an almost empty beach, and a kite that has finally been trimmed to behave. Then the light goes, and everything ends up in the boot with wet sand in the folds. By March you are unpacking a sail that smells faintly of mildew and a line set with a knot nobody can explain.
An hour or two of work now prevents most of that. Kites are simple machines built from materials that dislike the same three things: damp, sunlight and sharp creases. Deal with all three before the gear goes into the loft, and it will come out in spring much as you left it.
Clean it before you fold it
Sand is abrasive and salt holds moisture against the fabric, so a kite stored with both is asking for a slow corrosion of stitching, a gritty abrasion every time it flexes, and a musty smell that never quite leaves. The beach is not the place to do a proper clean. Wait until you are home, or at least somewhere with fresh water and a clean surface.
Spread the kite out on a tarp, a clean driveway or a lawn that is not muddy. Wipe down the canopy with a soft sponge and lukewarm fresh water. If the kite is really salty or has dried sea spray, add a tiny amount of mild soap — not detergent, not solvent, not anything with citrus or bleach. Rinse the sponge often, and pay extra attention to the leading edge, wingtips, bridle attachment points and any vents or valves where sand likes to hide.
Rinse, don’t soak
For a leading-edge inflatable kite, keep water out of the bladders and internal structure. You are cleaning the outside, not flushing the inside. For a ram-air or foil kite, avoid soaking the internal cells; a light wipe and a careful rinse are usually enough. If you sail on very fine sand, shake the kite gently before rinsing so you are not pushing grit deeper into the seams. Once clean, do not wring or scrub hard. Fabric coatings and stitching last longer when they are treated gently.
Dry it completely
Damp is the real enemy. A kite that feels dry to the hand can still have moisture trapped in seams, bridle pockets, valve corners and the folds of a packed bag. Mildew does not need a soaking wet kite; it just needs a little moisture and darkness. Hang the kite in a well-ventilated shade — not in direct sun, which degrades fabric and coatings — and let it air until every panel feels dry on both sides.
If the weather is humid, use a fan or bring the kite indoors to a dry room. Check the hard-to-reach places: the inside of a strut, the seam tape along the trailing edge, the webbing loops, the line attachment points. If you are in doubt, leave it another day. It is far better to lose a day to drying than to lose a season to mildew.
Care for lines, bridles and hardware
Your lines are as important as the kite, and they are often the most neglected part of the winter routine. Rinse the line set in fresh water to remove salt and sand, then lay it out or hang it in the shade to dry completely. Do not dry lines in direct sun if you can avoid it, and never store them damp. While they are drying, run each line through your fingers and look for cuts, fraying, stiffness, discoloration or flat spots. A worn line is not a spare — it is a future failure.
Untangle knots now, not in spring. Check pigtails, bridles, pulleys and the bar’s safety system. Rinse the bar and chicken loop with fresh water, wipe down the depower rope and inspect it for wear. Replace anything that is fuzzy, cracked or stiff. Store the bar and lines separately from the kite, ideally on a line winder or in a labelled bag. Never wrap a wet line set around a kite and call it packed.
Fold and pack with intention
Sharp creases are weak points. If you fold a kite along exactly the same line every time, that line becomes a place where the coating cracks and the fabric fails first. Vary your folds, use loose accordion folds where possible, and avoid pressing the kite into a tight brick. For inflatable kites, fold from the wingtips toward the centre, keeping struts from being crushed. For foil kites, follow the maker’s folding pattern and avoid trapping sand in the cells.
Use a clean bag, and if the original bag is damp or sandy, wash it too. Do not over-compress the kite or force it into a stuff sack. If you have to sit on the bag to close it, you are creating creases that will shorten the kite’s life. A little padding around valves and pulleys helps, and a labelled bag saves time later when you are looking for a specific size.
Choose the right storage spot
The ideal storage space is cool, dry, dark and free from pests. A damp basement, a hot attic, a shed with a leaking roof or a garage floor that sweats are all bad choices. UV light damages fabric and lines, so keep bags out of direct sun. If your bag is not breathable, leave the zip slightly open so any residual moisture can escape. Add a few silica gel packets if the space is humid, but keep them from touching the kite directly.
Rodents are a real threat: they chew lines, webbing and bags to build nests. Store gear on a shelf or in a sealed plastic bin, and check it once a month if possible. Do not store kites next to lawnmowers, paint, fuel or anything that can spill. A clean, dry cupboard inside the house is often better than a “convenient” shed outside.
If you can smell the sea when you open the bag in spring, it was not dry when you packed it.
Make a simple inventory and note repairs
Before the bag goes away, write down what you have and what needs attention. List each kite, its size, the bar and line set that belongs with it, and any spare parts. Note problems while you remember them: a slow leak at the centre strut, a sticky pulley, a bridle that needs replacing, a valve that does not seal. Put repair tape, spare pigtails, a bladder patch kit and the manual in the bag. If you rely on a particular knot or setting, take a photo or tie a sample and label it.
This takes ten minutes and saves an hour of guessing later. It also prevents the classic spring mistake: driving to the beach with a kite you have not checked since October, only to find the leak you forgot about.
Spring relaunch checklist
When the new season starts, do not simply pump up and go. Unfold the kite in a clean area and check for mildew spots, stains, brittle fabric or cracked coatings. Inflate slowly and listen for leaks. Inspect every line for length and damage, and check that the bar’s safety system releases cleanly. Rinse off any dust, recheck the bridles, and replace anything that looks marginal. If you stored everything correctly, this will be a quick confirmation rather than a rescue mission.
The hour that pays you back
Winter storage is not glamorous, but it is one of the cheapest forms of maintenance you can do. Clean the salt and sand, dry the fabric completely, care for the lines, fold without sharp creases, and store the gear somewhere cool and dry. Do that, and the first flight next season will feel like the last one: ready, responsive and worth the wait.
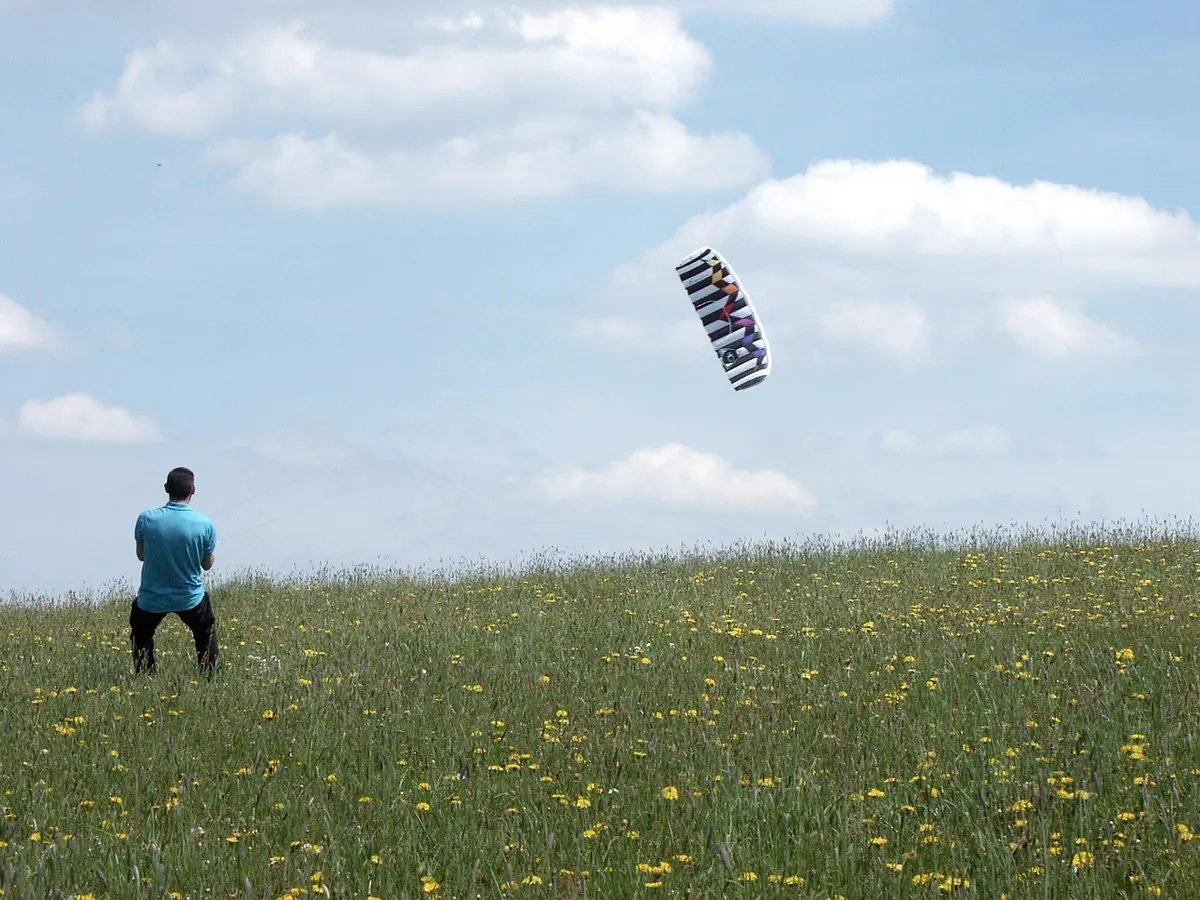
Photo: StockSnap / Pixabay